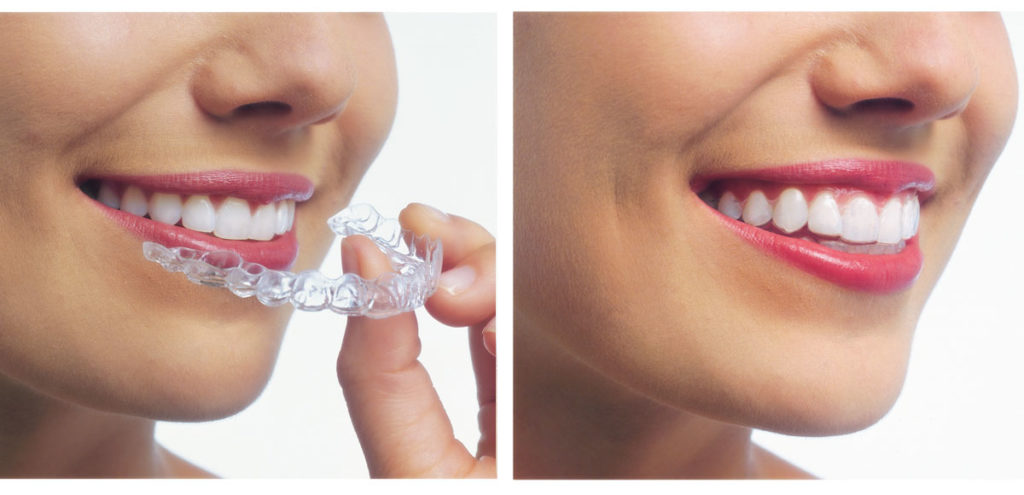
Note from Smiles Dental: This blog series is written by Lauren, a young adult in her 20s, who recently started the process for Invisalign treatment. She hopes to paint a picture of what Invisalign is all about to the readers, from a real and honest perspective.

Welcome back to my Invisalign journey! Since my last post, I have accepted my Invisalign treatment plan and started treatment.
Consultation With The Dentist
After sending in my impressions, Invisalign started working on my treatment plan and within a week, sent my dentist the full plan for approval. During my consultation with the dentist, I was shown a 3-D model of the progression that my teeth would follow during the course of my treatment. Let me tell you, it was cool! I was actually able to see what each set of aligners would do to my teeth and what my finished smile would look like.
Tracking The Invisalign Process
Once the plan is accepted, Invisalign takes approximately seven business days to make the aligners and send them to the dentist. All dentists are different in how they distribute the aligners. My dentist opted to check in with me every six weeks to track my progress. Aligners are typically changed every two weeks, so I would be receiving three sets of aligners at a time.

Starting The Treatment
At my next appointment, it was time to start treatment. First, my dentist had to set the composite buttons on my teeth. My case has quite a few buttons, so it was a process to set them. In order to set the buttons, the dentist first uses an acid to etch the surface of the teeth. Don’t worry, the acid doesn’t compromise the structure of the tooth, though it isn’t the most pleasant tasting material!
The teeth have to be ‚Roughed up a bit in order to adhere the buttons. After etching the teeth, a bonding glue was applied, similar to what is used to set composite fillings. Then a flexible version of my first set of aligners was used to apply the buttons.
Composite Material
Invisalign aligners are not smooth, but rather have bumps on them to make room for these composite buttons. The dentist and his team filled the bumps with the composite material, then placed the aligners on my teeth. After bonding the composite to the glue with a special light, the aligners were removed and the composite buttons remained on the teeth!

Alleviate Some of the Soreness
My dentist suggested that I wait to put in the aligners until the evening, to help alleviate some of the soreness that comes with moving teeth. The buttons felt a little rough on my tongue and lips, but otherwise, my teeth didn’t feel any different! Just remember to bring ChapStick for this appointment.
Later when I placed the aligners for the first time, they were not uncomfortable, just a little tight on my teeth. At first, the hardest part was getting them off and on! Now that I am on the third set of aligners, things are much easier, and I am already seeing results!
22 Hours a Day
With Invisalign, it’s important to wear the aligners as much as possible, 22 hours a day is recommended. It’s also important to brush after eating or drinking anything but water. This is due to the way the aligners suction to the teeth; if any sugar or food residue remains on the teeth, there is an increased risk of forming cavities.
Thanks for reading and stay tuned for the next Invisalign series update!

Discover the Smiles Dental difference today!
Are you ready for the happy, healthy smile of your dreams? When you choose Smiles Dental Services, you’re putting your smile in the hands of highly-trained professionals you can trust. Above all, we provide our patients with leading-edge dentistry that goes above and beyond to deliver high-quality results with a gentle, personal touch.